
- everyday emergencies
- natural disasters
- SHTF events
- the very first steps you should take

Free PDF: 400 Alternative Uses for 20 Common Household Items
Latest Articles

Is Moss Edible or Poisonous? 6 Types of Moss You Can Eat
When it comes to survival, everything is about necessities. One of the most…
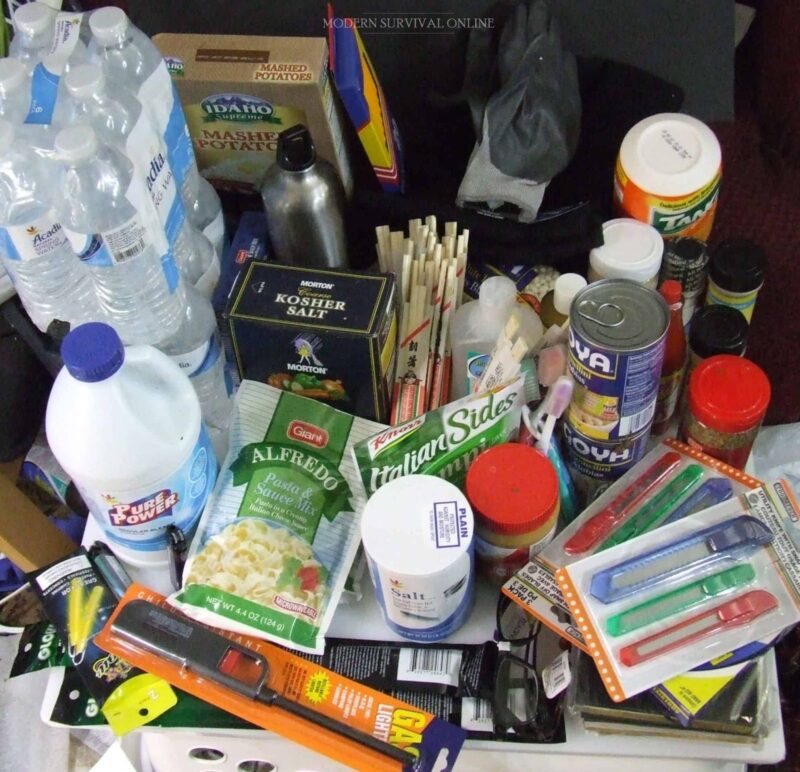
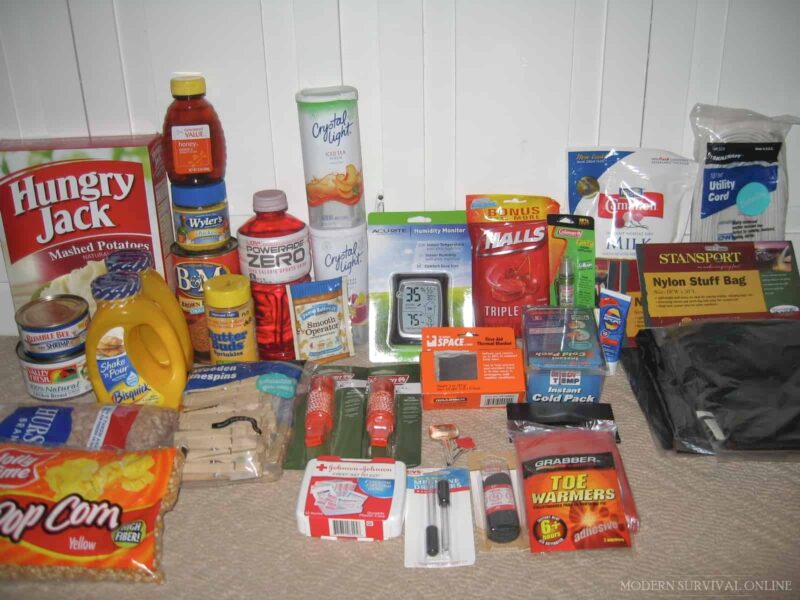
Checklist of 101 Things All Preppers Should Have
One of the most anxiety-inducing parts about being a prepper is trying to…

Taser Laws in Illinois: Legal or Not?
When most folks think of self-defense implements, the first thing they will think…

Taser Laws in Michigan: Legal or Not?
The majority of citizens living in the US have full and nearly unfettered…

Taser Laws in Florida: Legal or Not?
When you think of self-defense implements, your mind probably goes immediately towards guns…
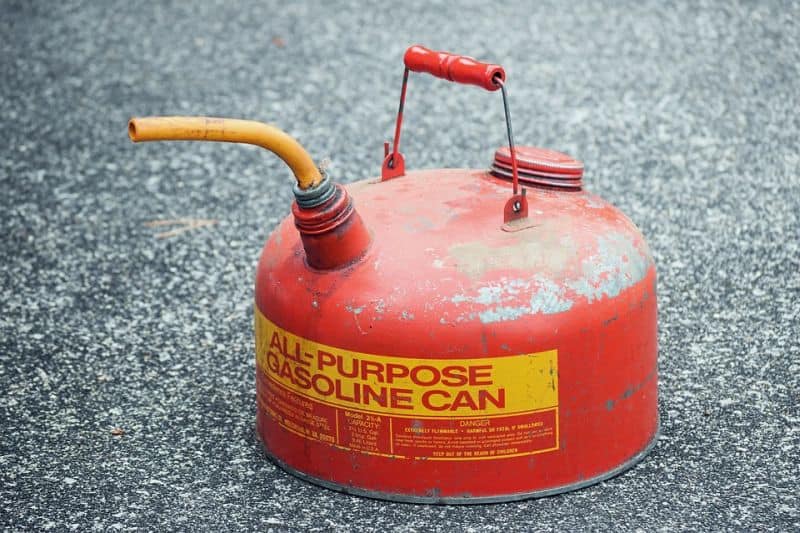
Should You Mix New Gasoline With Old?
It’s always a good idea to keep extra gas on hand, especially if…
Food and Stockpiling
Protein Powder as a Survival Food: Is it Any Good?
Preppers who are getting ready for long-term survival scenarios and living in the…

How Much Protein Is in a Cricket? What You Need To Know
It’s been said that there is nothing new under the sun, and pretty…

Can You Eat Raw Wild Onion to Survive? Is it Safe?
When you are in a survival situation, be it a short-term or a…

Can You Eat Raw Purslane to Survive? Is it Safe?
One of the most fundamental skills that any prepper can possess in a…

Can You Eat Green Beans Raw to Survive? Is it Safe?
One of the factors that some preppers fail to account for when planning…
EMP Survival

My 10-Step Guide to Preparing for an EMP
When it comes to mega disasters, if there is one guaranteed to make…
Can Devices That Are Unplugged or Off Survive EMPs?
Preparing for an EMP is, arguably, one of the most pressing and difficult…
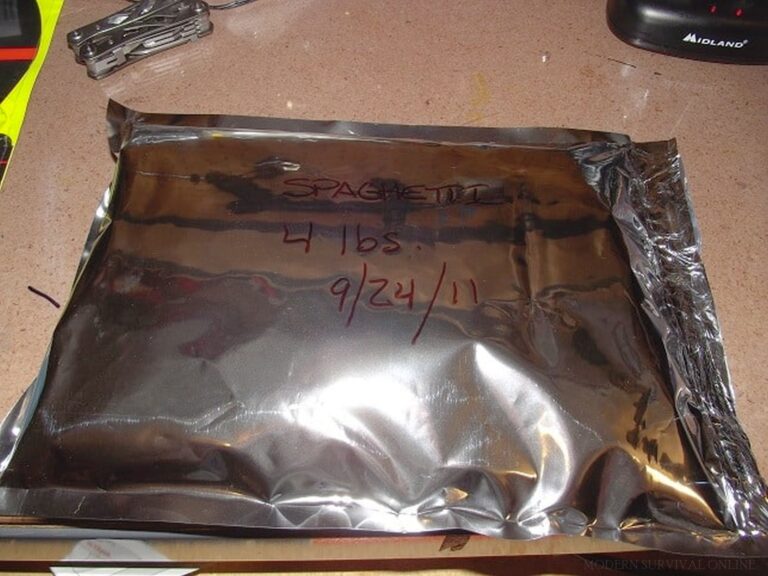
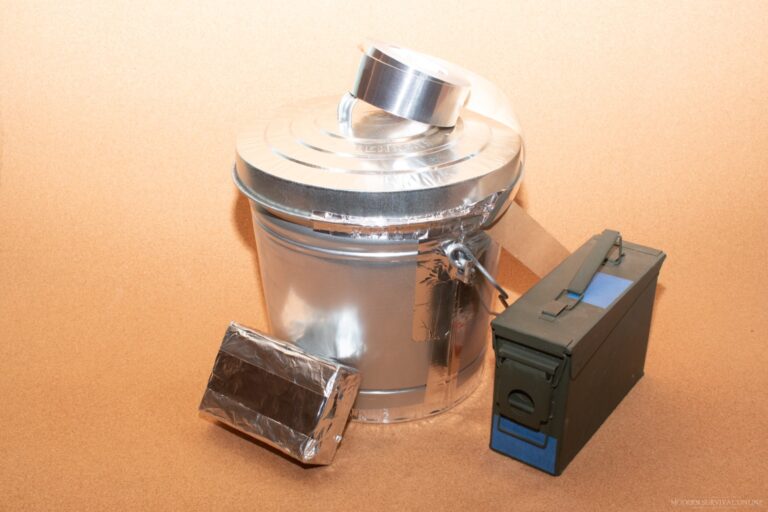
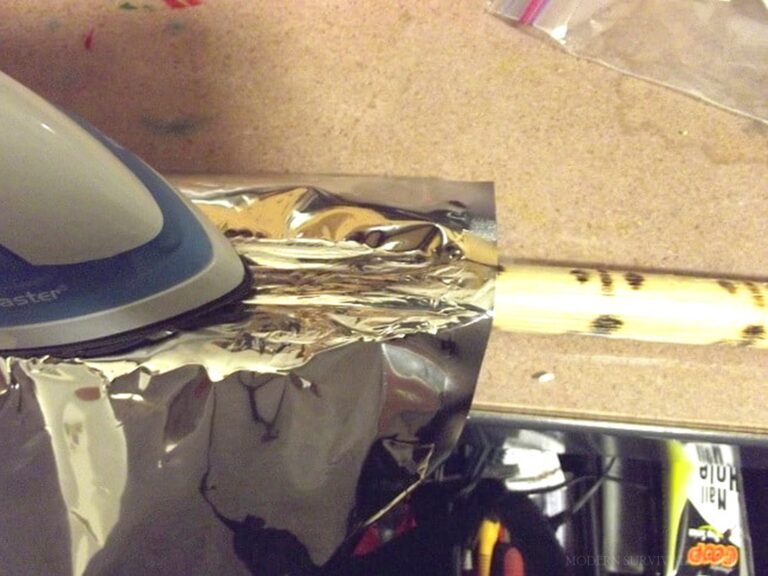
Will Mylar Bags Protect Devices from an EMP?
One of the most devastating, and sadly, one of the most plausible, mega…
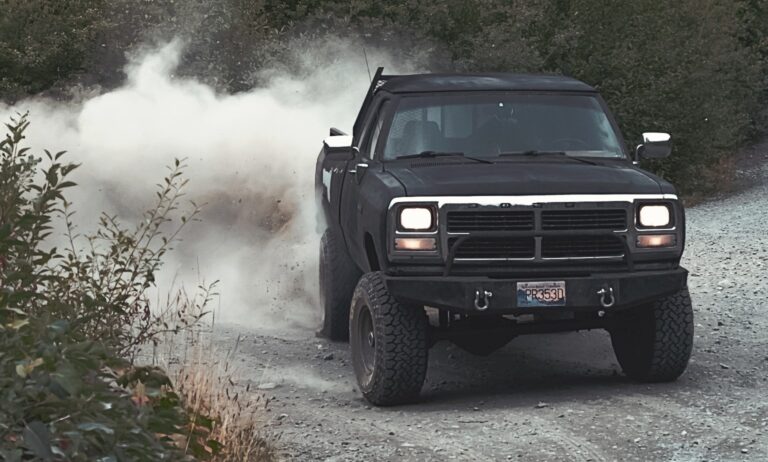
Here’s How to EMP-Proof Your Vehicle
One of the hallmarks of being a good prepper is knowing what you’re…

EMP How Long Does It Disable My Electronics
One of the most worrisome and sadly also most plausible destructive events we…
Gear
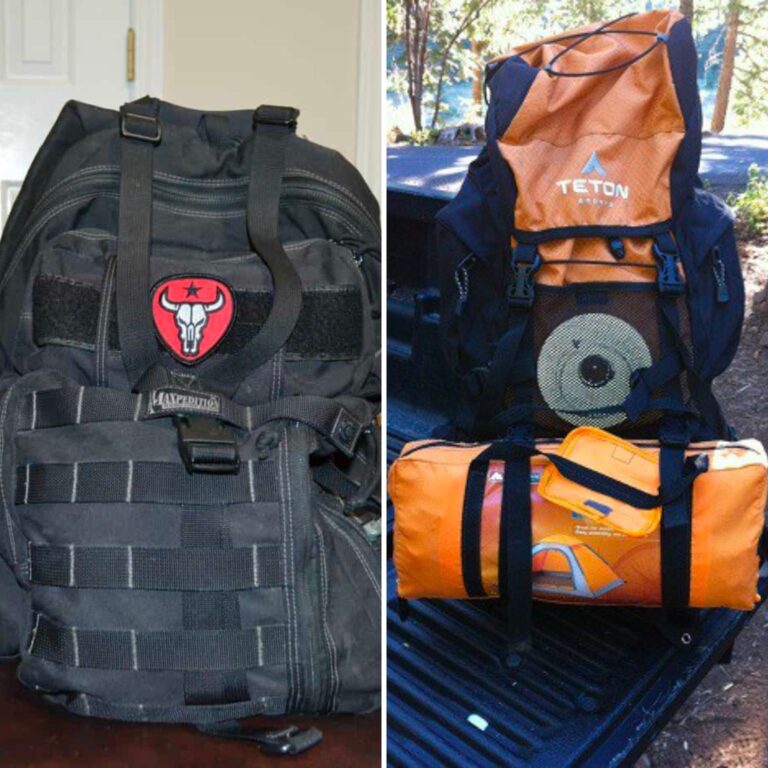
Tactical vs. Hiking Backpacks: What are the Differences?
No matter what you need a pack for, whether it is hiking, camping,…
What to Replace a Heat Gun With? Here are 8 Suggestions
Heat guns are one of those tools that, when you need one, you…
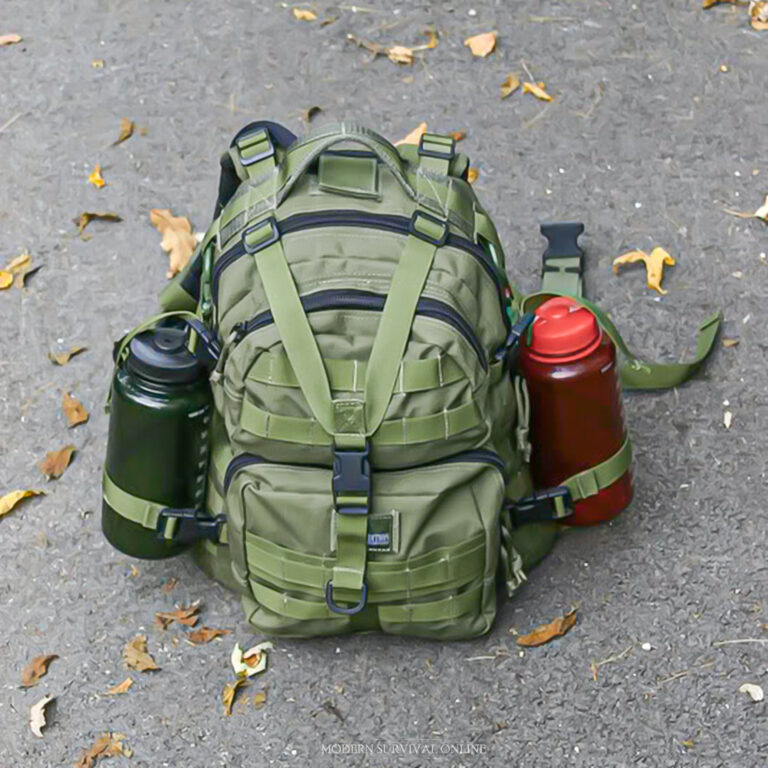
The 16 Best Survival Backpacks You Can Get
A backpack is incredibly important, they store and protect our gear from the…
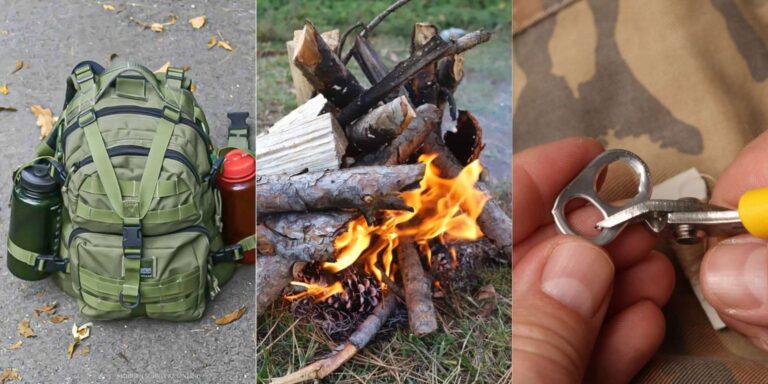
The $500 Bug Out Bag
So we know how a bug-out bag can be important, they can save…
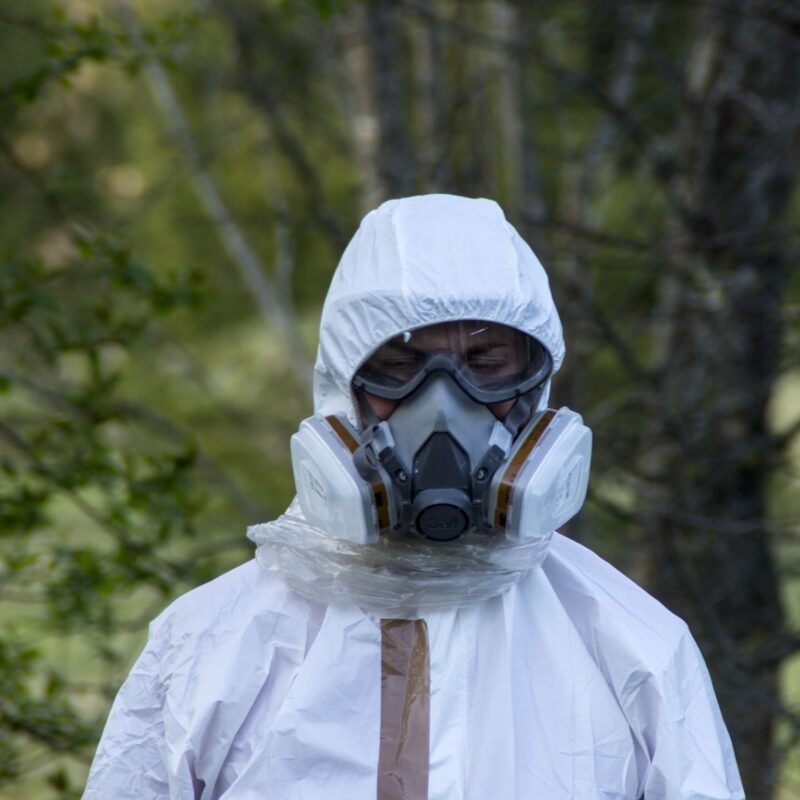
The Best 8 Hazmat Suits and How to Choose Yours
Being prepared to face down the unexpected is paramount if you want to…